How pad printing works
Pad printing transfers ink from an etched plate to a silicone pad, then onto the product. It is especially useful for promotional items with curves, recesses and small print areas where other methods can struggle.
The basic pad printing process
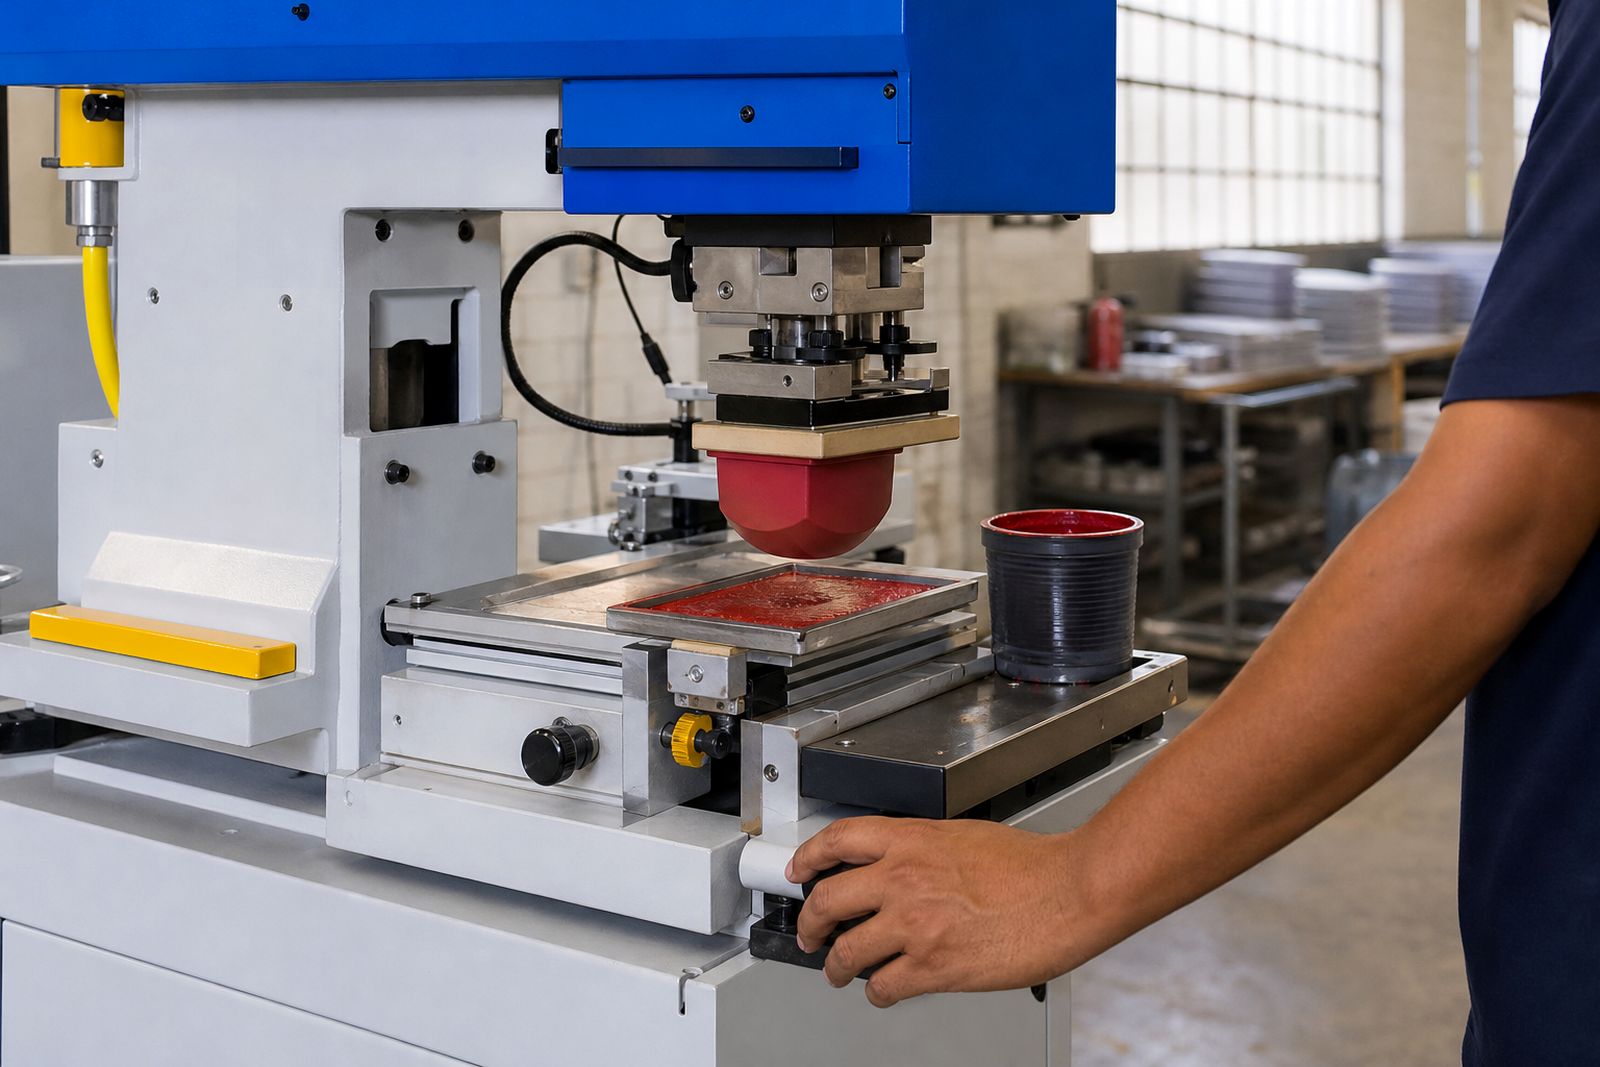
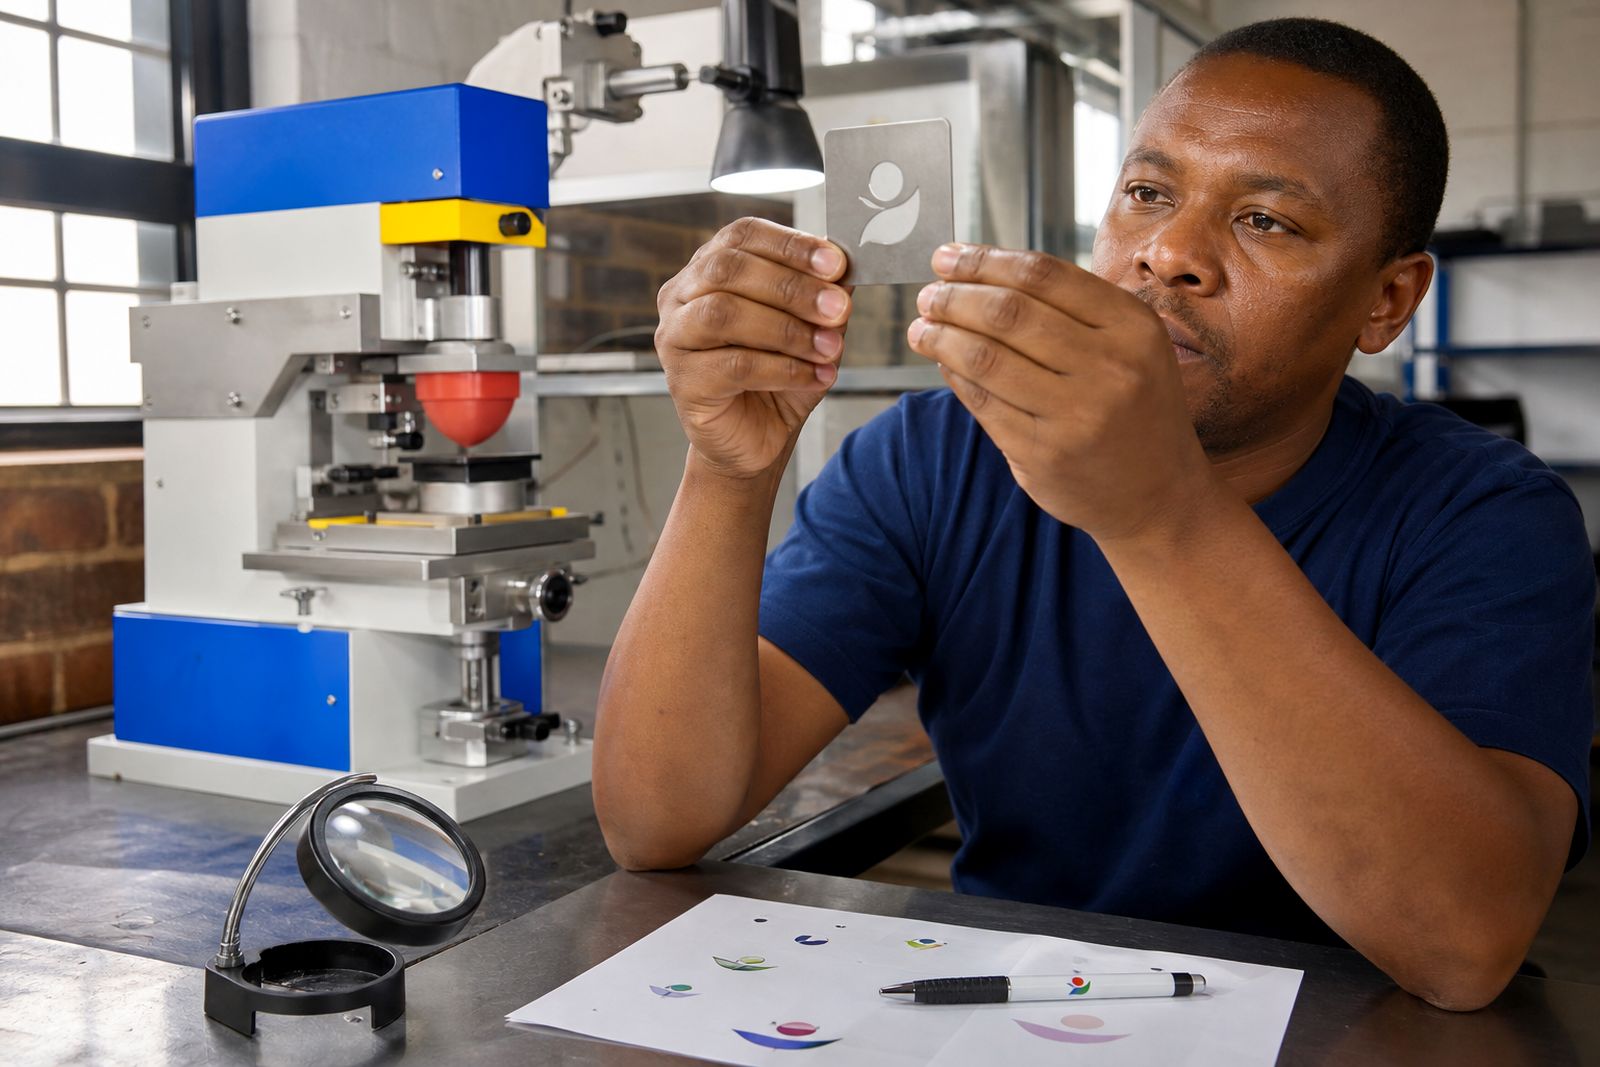
Pad printing starts with your logo artwork and the actual item that needs branding. We prepare the artwork for the print area, make a printing plate for each colour, load the correct ink, and use a silicone pad to lift the image from the plate and place it onto the product.
The silicone pad is the key part of the process. Because it is flexible, it can pick up a very fine ink film and press it onto rounded or uneven surfaces without smudging the image. That makes pad printing a good fit for pens, keyrings, golf balls, bottles, mugs, USB drives and other small gifts where the branding area is limited or not completely flat.
- Artwork is checked against the available print area.
- A plate is made for each print colour.
- Ink is mixed to the required colour and finish.
- The pad lifts the image and transfers it to the item.
- Printed goods are checked, packed and prepared for courier delivery.
What the plate, ink cup and silicone pad each do
The plate carries the image in an etched form. During printing, an ink cup moves over the plate, filling the etched image with ink and removing the excess from the surface. The silicone pad then presses onto the plate, lifts the inked image, and transfers it onto the product.
Each part of that setup affects the final result. Plate depth matters, ink choice matters, and pad shape matters too. A tall narrow pad may suit a pen clip area while a broader pad can be better for a mug panel or a flatter gift item. Small changes here can make the print cleaner, especially on glossy plastics and coated metal surfaces where ink behaviour can be a bit fussy.
- The plate holds the image for one colour.
- The ink cup controls the inking of that image.
- The silicone pad carries the image onto the item.
- The jig or holding fixture keeps the item in the same position for repeat printing.
Where pad printing works best
This method is popular for promotional products because many of them are awkward shapes. A bottle may taper, a pen may have a curved barrel, and a golf ball has a textured surface. Pad printing handles those conditions well when the artwork is matched properly to the available area.
It is not meant for every job on every material. Very large print areas, wraparound decoration or bold all-over graphics usually call for a different process. For smaller logos, tidy text and controlled branding positions, pad printing often gives the neatest result.
- Good for curved, recessed and small branding areas.
- Works well on pens, stationery, mugs, bottles and tech gifts.
- Suitable for one-colour and multi-colour logo applications.
- Best where the logo needs accurate placement on each item.
Pad printing compared with other common branding methods
If you are choosing a print method for promotional items, the shape of the product and the size of the artwork are the first two things to look at. Pad printing is often the better option when the logo must sit neatly on a small or slightly rounded area.
- Pad printing: best for compact logos on curved or uneven items.
- Screen printing: better for larger flat areas and simpler layouts.
- UV direct printing: useful for certain flat items with more detailed full-colour graphics.
- Engraving or embossing: chosen where the item and finish call for a non-ink result.
For many corporate gifts, the real choice is between pad printing and screen printing. If the print area is small and the item shape is tricky, pad printing usually gives better control. If the panel is broad and flat, another process may make more sense. We cover those differences in more detail on our guide to pad printing vs screen and UV printing.
Artwork, proofs and multi-colour setup
Clean artwork saves time in the print room and reduces trouble on press. We look at line thickness, spacing, print size and colour separation before a plate is made. If a logo has more than one colour, each colour needs its own plate and its own pass on the machine, with careful registration between prints.
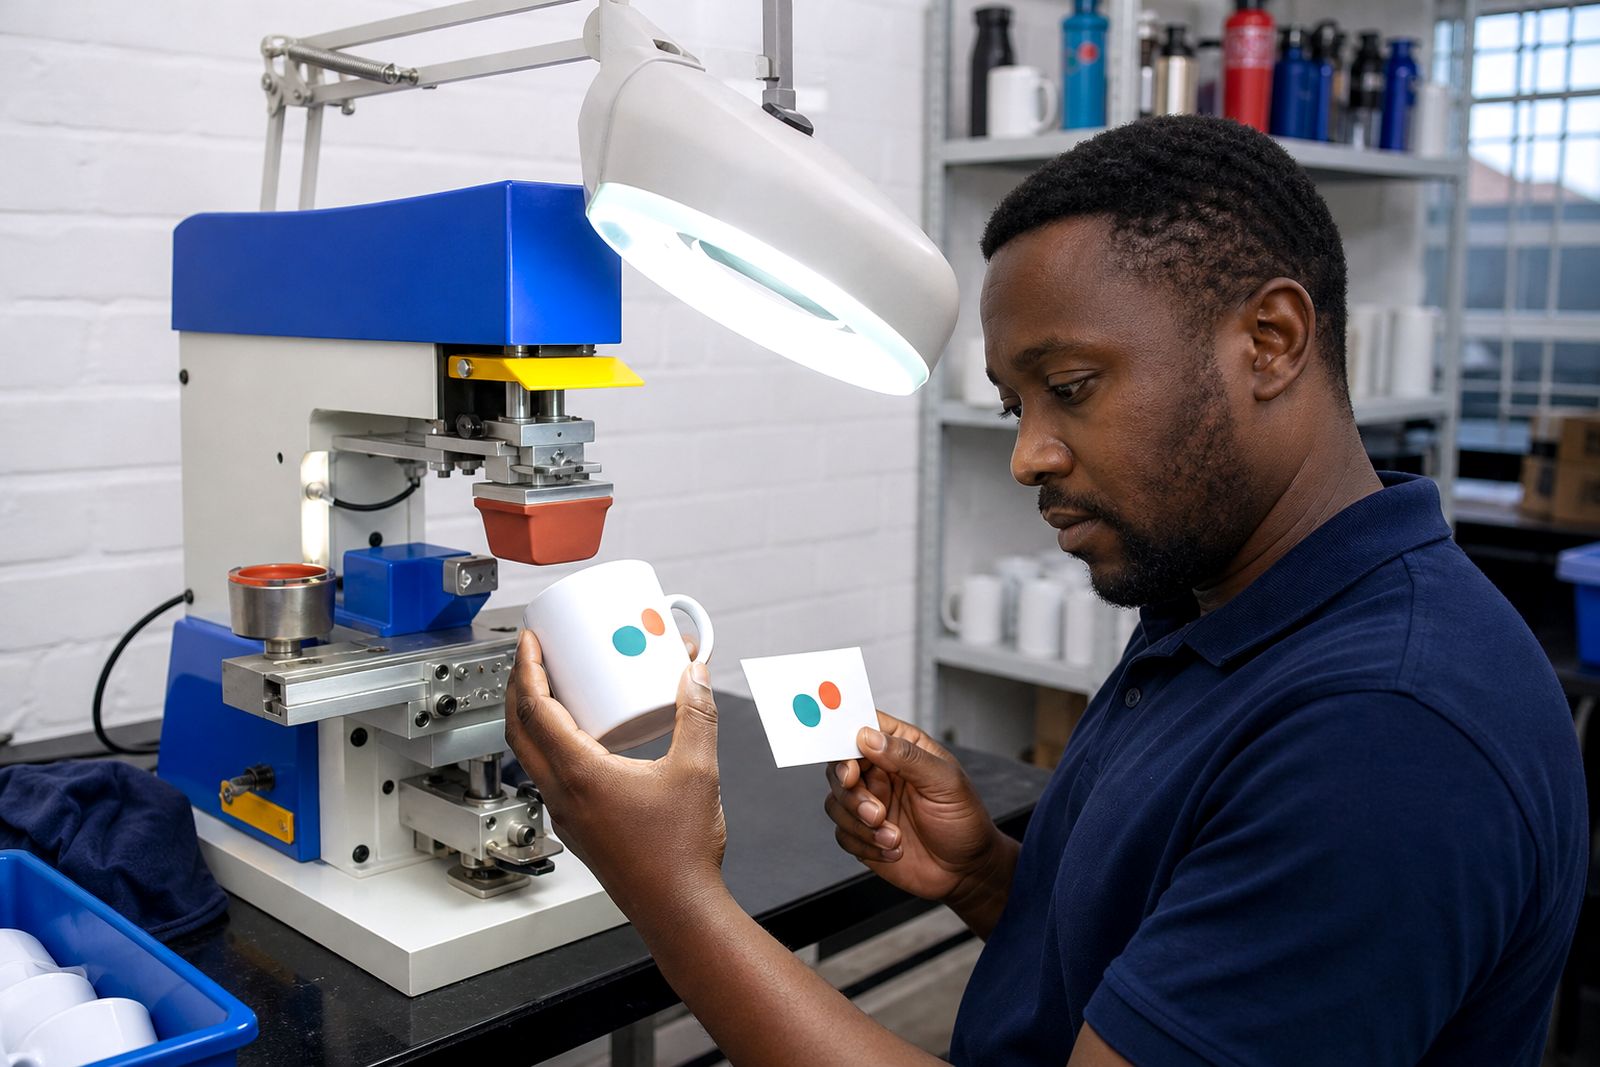
That is why a proof or physical sample matters. It shows how the logo sits on the actual item, whether text is still readable at the chosen size, and whether the colours hold properly on that surface. Some jobs need a small adjustment before full production starts, which is normal, and better than forcing a bad layout through the run.
For a closer look at file setup and approvals, see Artwork, plates and proofs and Multi-colour logos. Those pages explain the common choices without overcomplicating the process.
Choosing the right route for your order
The best starting point is the item itself. Tell us what product you want branded, where the logo must sit, and whether the artwork is one colour or several. From there we can assess whether pad printing is the right method and how the plate and pad setup should be handled.
Orders are produced in Kempton Park, near OR Tambo, for businesses across Gauteng, with packed goods couriered to every province. We handle the branding stage only, not brand creation from scratch, embroidery or large-format banner work. If you need pricing and print guidance for a live brief, send the item details and artwork through our contact form.
What our Pad Printing customers say
Verified Google reviews
Questions we get asked
Can pad printing be used on curved items like pens and bottles?
Yes. That is one of its strongest uses. The silicone pad can transfer the image onto curved or slightly uneven surfaces far more neatly than methods that need a flat panel.
Do all colours print from one plate?
No. Each print colour needs its own plate and its own setup. Multi-colour logos are printed in sequence so the colours line up in the correct position.
What do you need before printing starts?
We need the product details, the logo artwork and the intended print position. We then check the artwork, prepare the plate setup, arrange a proof or sample, and move to production once that stage is approved.
Tell us about the job
Send sizes, materials and where you are through our contact form, and we will come back with the practical options.
Open the contact form