Artwork, plates and proofs
Good pad printing starts before ink touches the product. We check your logo, prepare the plate and confirm the print setup so the run matches the item, the branding position and the colours required.
Preparing artwork for a clean print
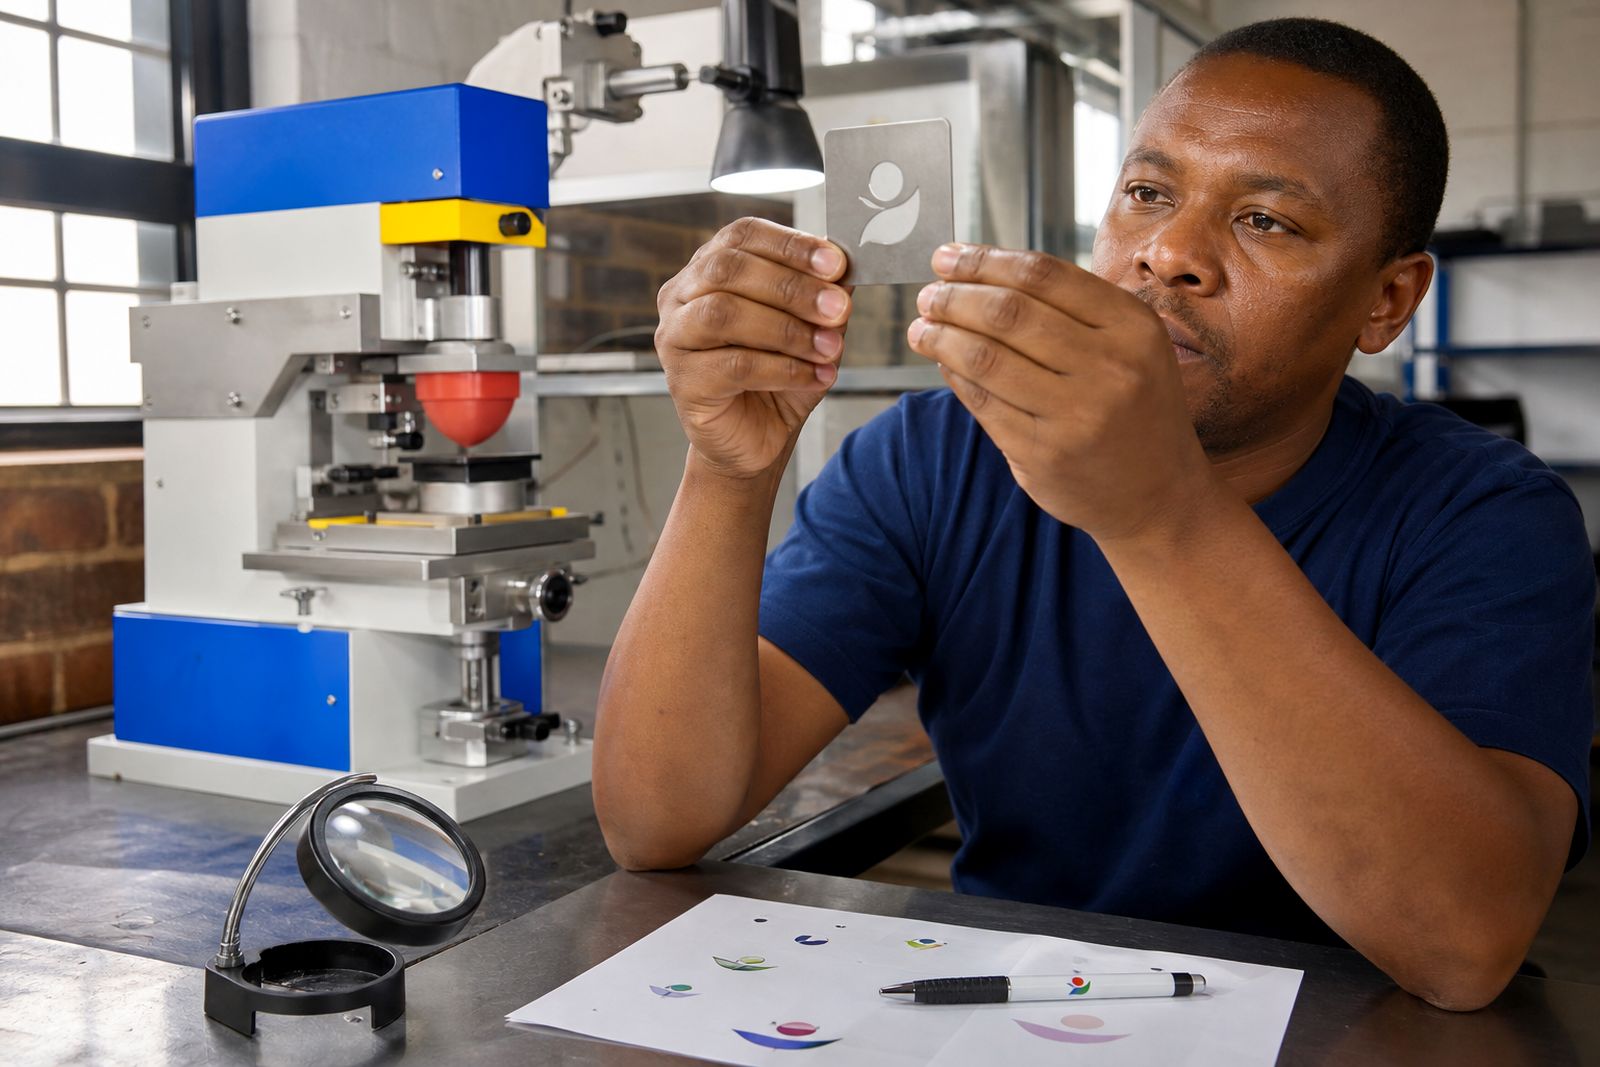
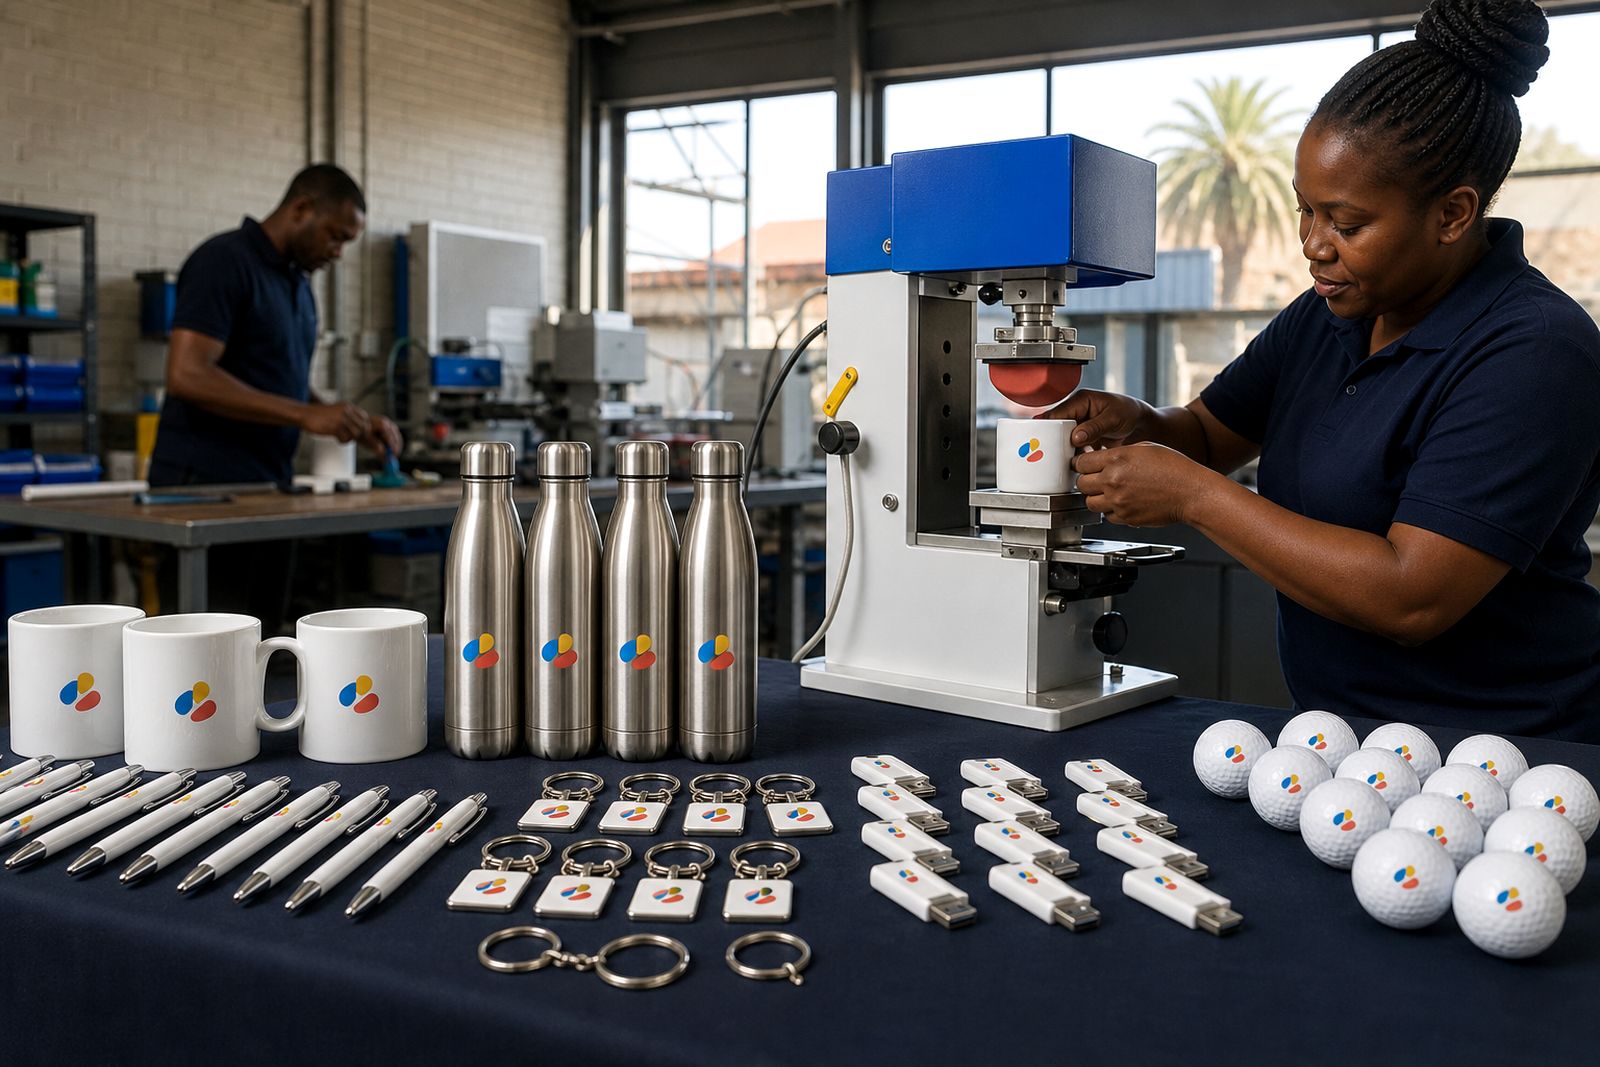
Pad printing works on small areas, curved faces and shaped products, so artwork needs to suit the size and surface of the item. Before production, we review the logo supplied for line weight, spacing, small text and the way separate colours will sit on the product. This matters on pens, keyrings, golf balls and other compact items where a design can look fine on screen but close up too much once reduced.
Vector artwork is preferred because it holds edges cleanly when we set up the plate. If only a raster file is available, we check whether the image is sharp enough and whether any redraw will be needed before approval. We also look at the intended branding area because a long logo on a narrow clip, or a tall logo on a rounded bottle cap, may need a different layout to print properly.
- Preferred file types: vector PDF, AI, EPS or SVG.
- Raster files can be used if the image is clear and large enough.
- Text should be converted to outlines where possible.
- Colours should be identified clearly, especially when more than one colour is required.
- Fine details and very small wording may need adjustment for the item size.
From approved logo to printing plate
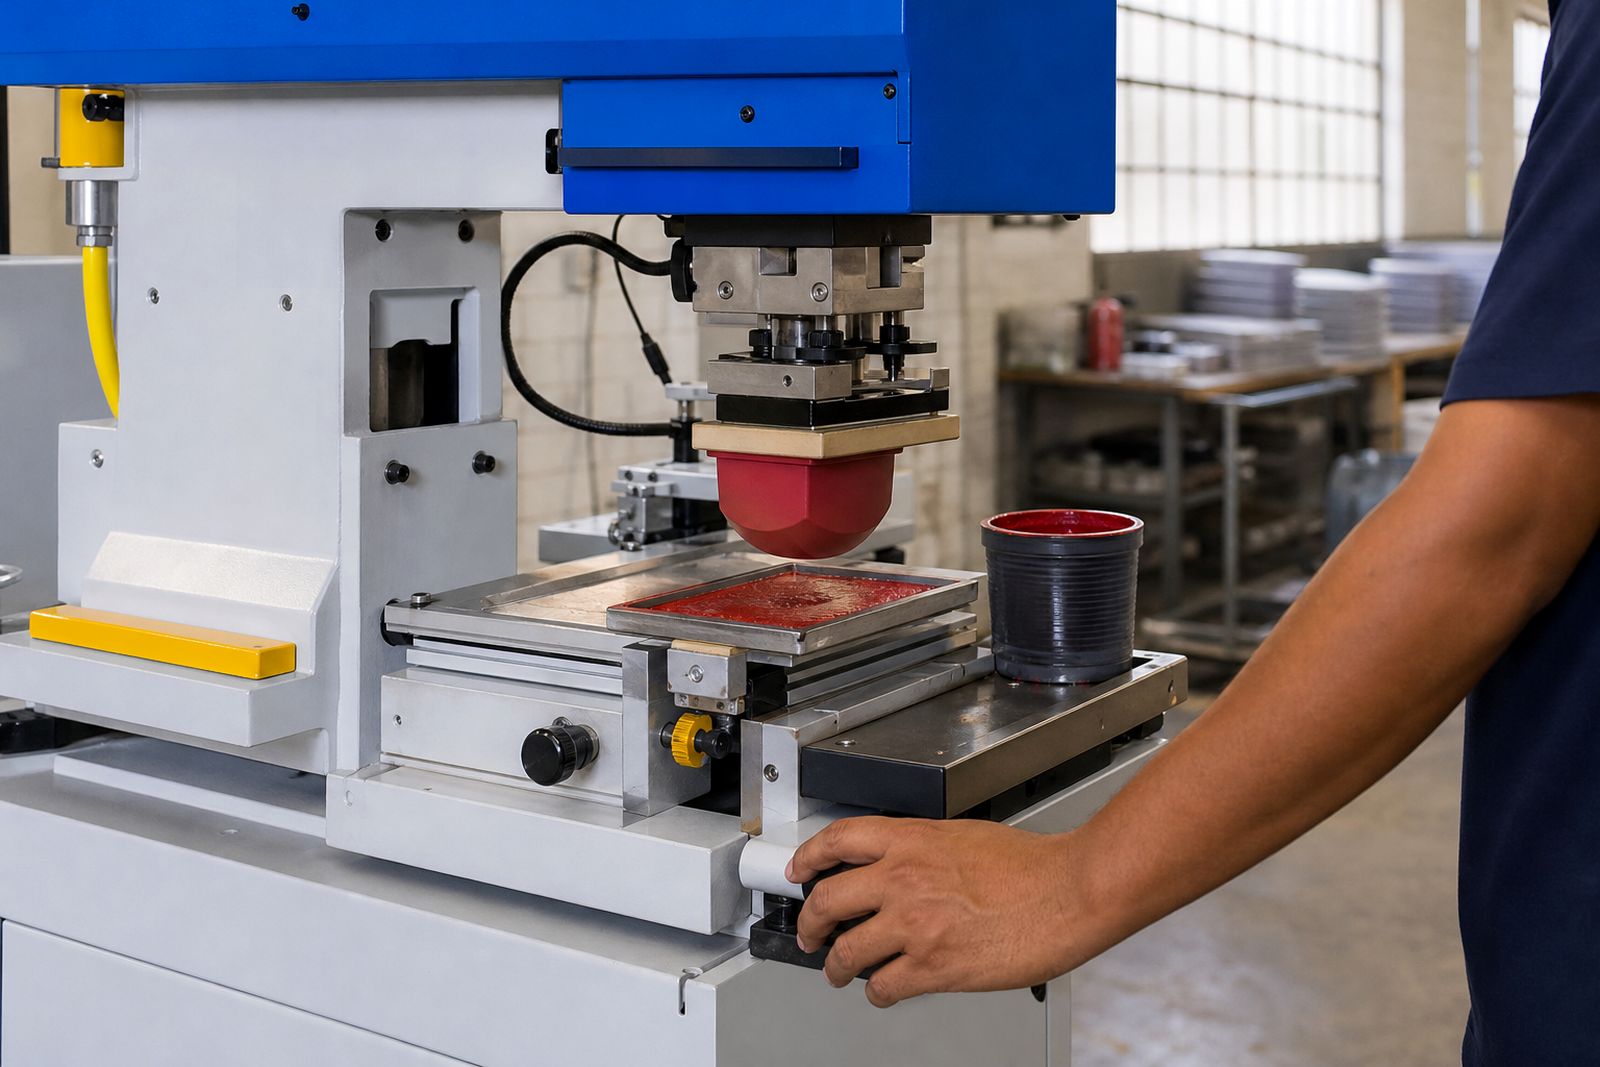
Once the artwork is suitable for the job, we prepare the print-ready version and make the plate used for pad printing. The plate carries the image that transfers ink to the silicone pad and then onto the product surface. Plate preparation is not a generic step. It is matched to the logo size, the print position and the product shape, whether the item is a mug with a small branding panel or a USB drive with only a narrow flat face.
Where a logo has more than one colour, each colour is prepared as its own element so registration can be controlled during printing. The layout is also set according to the practical print area rather than the full product size. On some items, a few millimetres one way or the other make a visible difference, so we work from the actual branding panel and not assumptions from a catalogue image.
If artwork needs slight changes for printability, we flag that before the plate is made. That saves waste and avoids the common problem of tiny gaps filling in or thin strokes breaking up on hard plastic or coated metal surfaces.
Proofs and sample approval before the run
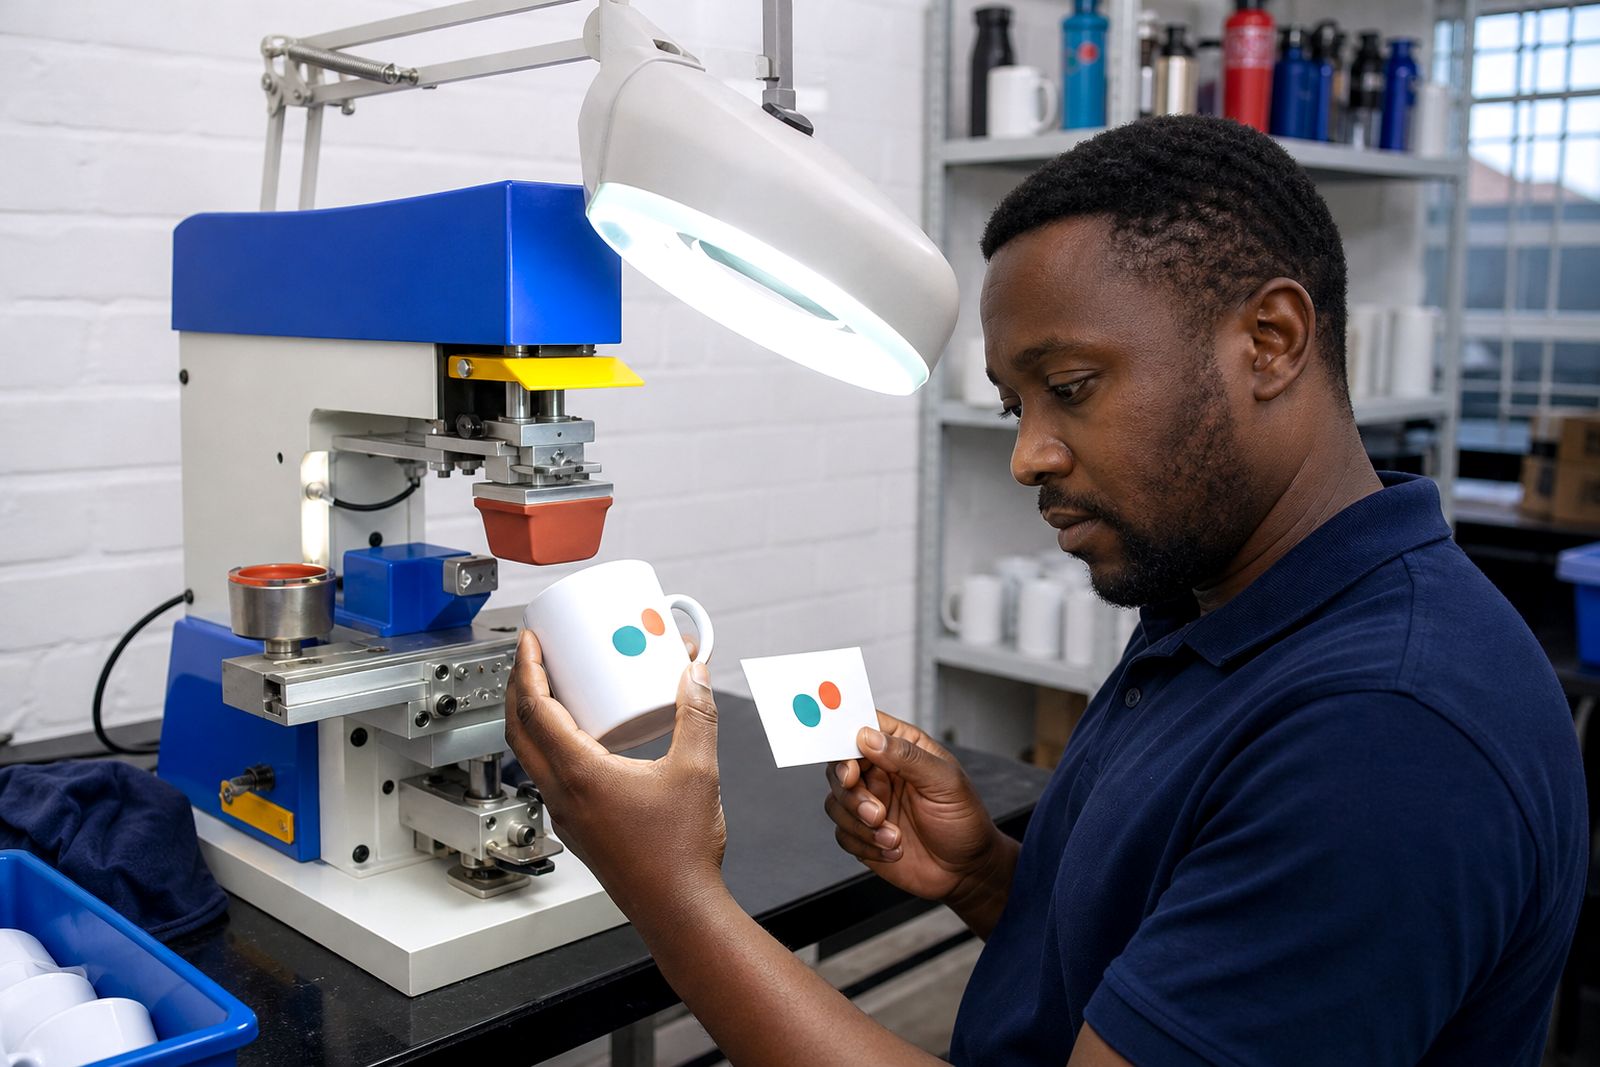
Before the main run starts, we confirm how the branding will appear on the selected item. Depending on the job, that may be a visual proof, a position layout or a printed sample prepared on the actual product or a comparable surface. The purpose is to confirm size, placement, orientation and colour breakdown before bulk printing and packing begin.
A proof is the checkpoint where practical pad printing issues are caught early. This includes whether a logo sits straight on a tapered product, whether the print area is centred on a pen barrel, and whether separate colours need more spacing for reliable registration. Small changes here usually prevent bigger problems later. Sometimes the approved artwork is fine, but the object itself asks for a tweak and thats normal on promotional work.
- Visual proof for artwork layout and print position.
- Colour separation check for multi-colour logos.
- Sample print where the product or job requires physical confirmation.
- Approval point before the full production run.
What to send with your brief
A clear brief helps us prepare the plate and proof correctly the first time. Along with the logo file, we need to know the item type, the branding area if you have it, the required print colours and any placement preference such as clip-side, front face or centred under the rim. If the items are being sourced through your own channel, product photos and dimensions are useful because surface shape affects pad setup.
For event merchandise and mixed promotional packs, it helps to list each product separately rather than grouping them under one broad note. A mug, a bottle and a keyring may carry the same logo but they rarely share the same artwork size or plate setup.
- Final logo files in a usable format.
- Item type and approximate branding area.
- Print colour requirements, including any special matching notes.
- Position instructions for each product.
- Quantities per item line for planning the run and packing.
If you are unsure whether your artwork is suitable, send what you have through our contact form and we will assess it against the item and print area.
How costing is worked out
Artwork, plates and proofs form part of the production setup, so costing is based on the work needed before printing as well as the print run itself. In general terms, the main factors are the number of artwork versions, the number of colours, whether plate preparation is needed for more than one item line, and whether a sample is required before the full run. Product shape also matters because unusual surfaces can need slower setup and more careful positioning.
Repeat jobs are usually simpler when the approved artwork and plate information already match the same item and print position, but any change in logo version, product size or colour build can alter the setup. For mixed campaigns, each product category is costed according to its own branding requirements rather than treating everything as one identical job.
Courier packing is planned after approval so finished items reach Gauteng clients directly, and orders for other provinces can be dispatched cleanly and labelled per line if needed.
Aftercare, checks and practical limits
After printing, we inspect the run for legibility, placement and general consistency before packing. On promotional products, aftercare is mostly about sensible handling. Newly printed items should be kept clean and dry during packing and transport, and hard rubbing on the printed area should be avoided until the ink has properly cured for the product surface. Different materials accept ink differently, so a coated bottle, ceramic mug and plastic pen will not all behave exactly the same in use.
Pad printing is excellent for small branding areas and shaped objects, but it does have limits. Very large artwork, photographic gradients and oversized wraparound coverage are usually better handled by another print method. Where those limits affect the result, we point that out before production rather than forcing a job into the wrong process.
For logos that must hold up neatly on compact, curved or awkward items, careful setup at the artwork and proof stage is what keeps the finished branding looking sharp not crowded.
What our Pad Printing customers say
Verified Google reviews
Questions we get asked
Can you work from a low-resolution logo file?
Sometimes, but it depends on how clear the image is and how small the logo must print. If the file is too soft or broken, we will advise whether it can be cleaned up or whether a better source file is needed.
Do all products use the same plate and artwork size?
No. Even when the logo stays the same, the plate size and artwork layout are set to the actual branding area of each item. A pen clip, mug panel and golf ball each need their own practical setup.
What if my logo has more than one colour?
We prepare each colour as a separate print element and check the registration for the chosen item. Multi-colour work is common on promotional products, but the size and shape of the item affect how tightly colours can sit together.
Also worth a look
Tell us about the job
Send sizes, materials and where you are through our contact form, and we will come back with the practical options.
Open the contact form